
Paving Our Driveway – Phase 1
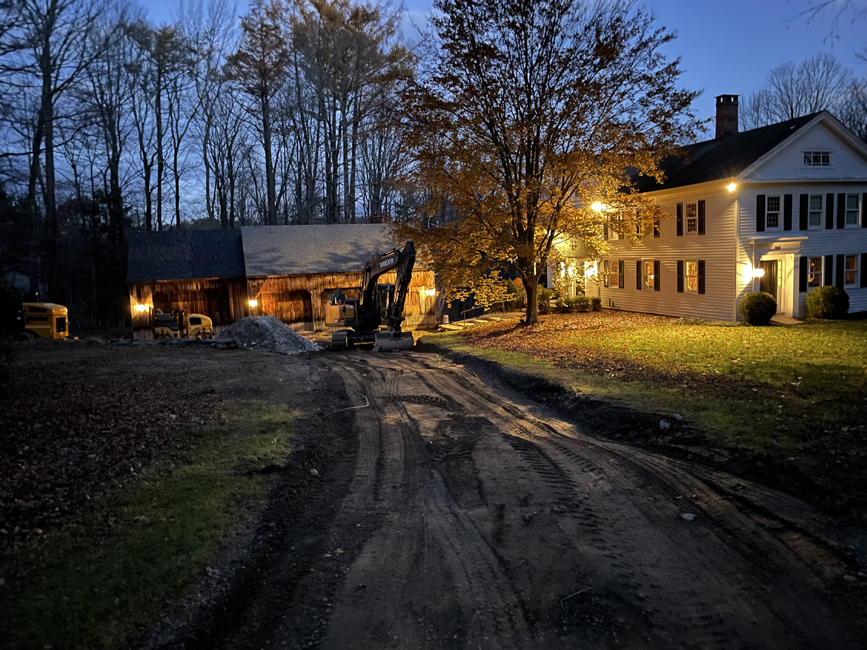
Our driveway has been showing increased wear in recent years. Heavy rain storms have become more common, and we had in excess of 50″ of rain this year. Gullies were forming in our driveway, to the extent that bringing in some fill to rake over the channels was no longer even a good short-term solution. With the promise of more violent storms in the offing, we needed a better long-term solution, so we decided to look into paving as an answer to the problem. We did some basic research, then secured 3 quotes from local paving contractors. Once we got over the sticker shock, we decided to go ahead with the project, hiring the company about whom we had two enthusiastic recommendations, B. Metcalf Paving (https://www.bmetcalfasphalt.com) out of Salisbury CT. They were also the most likely to get something accomplished this year.


Before and After
Click on either photo to enlarge
The process of paving was more than a minor facelift. Metcalf’s initial description of the work involved removing (excavating) the current driveway to a depth of 15″, then rebuilding it with 12″of new fill and processed stone. After that, they would lay out 2″ of asphalt as a binding layer, followed by another inch of a finer asphalt mix for a finished layer. We opted for the additional step of adding an “oil and stone” finished layer, which we hope will give our home less of a suburban appearance while also eliminating the occurrence of black ice, which bedevils many paved driveway.
We started our inquiries during the summer and made our deposit the first week of September. Since this contractor was busy, they could not get to us until the week before Thanksgiving and there was only time to lay the first layer this year with a promise to finish up in the spring.
So far, we are pleased with the work that has been done and look forward to rolling – not bouncing – down our driveway.
Our paving project: a gallery
Click to zoom; hover to see caption
… to be continued in the spring


-
Tagged Gary, Jani, travel